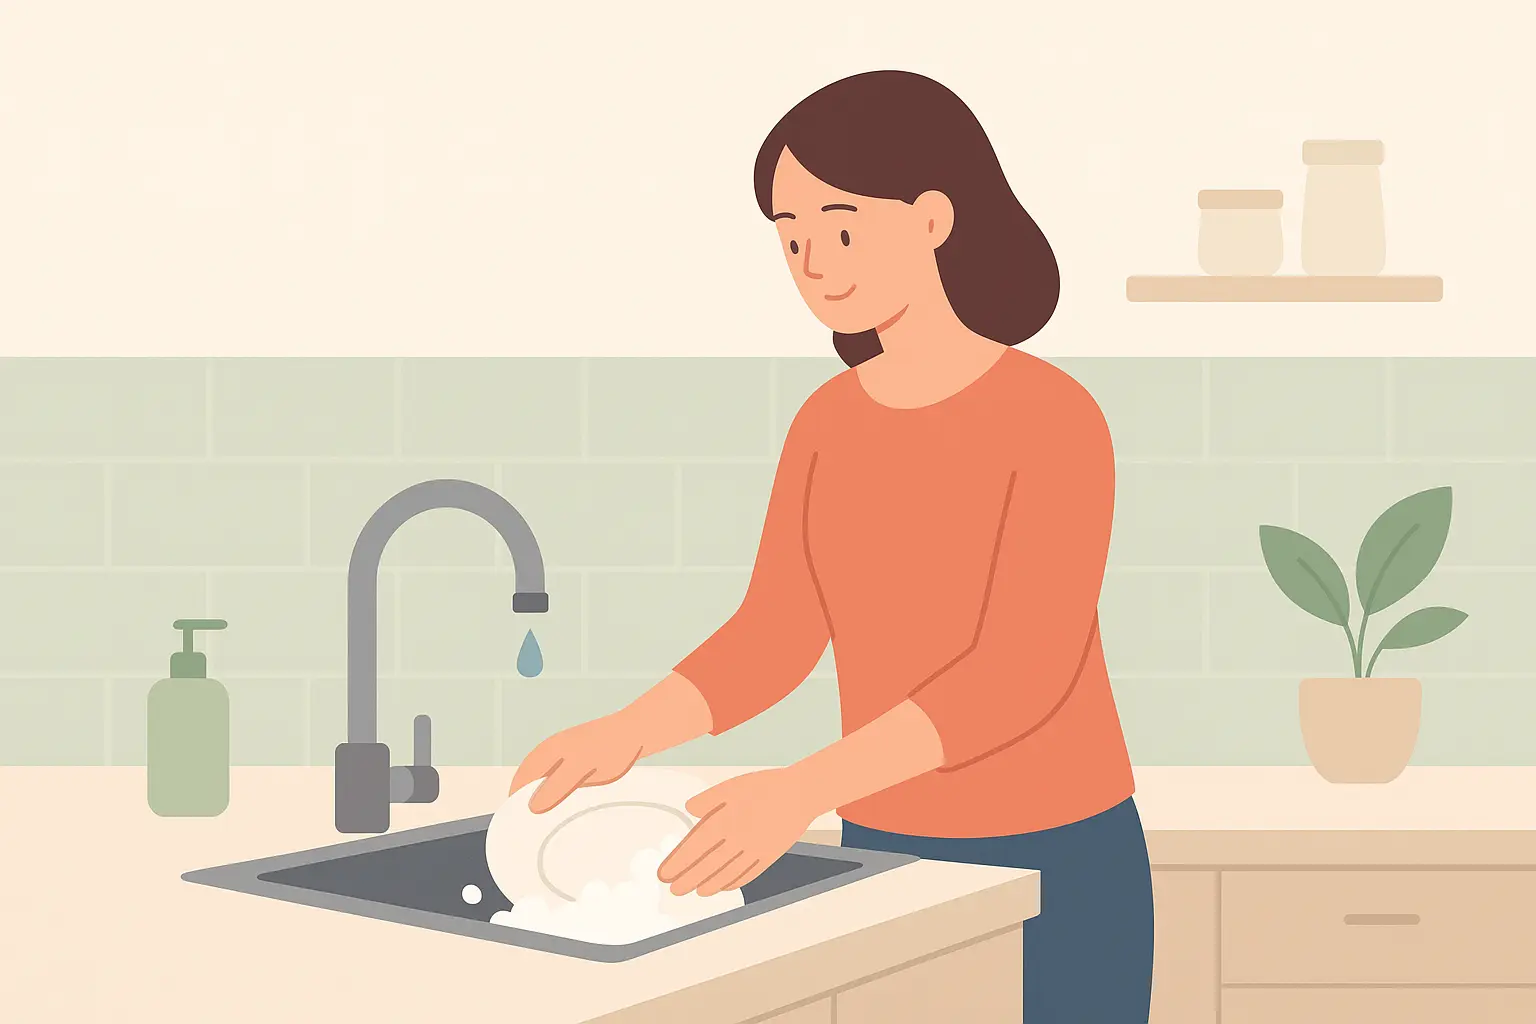
A dripping kitchen tap might seem minor, but it’s one of those jobs that gets louder at night and more irritating by the day. I’ve lost count of how many times someone in Brighton has said, “It’s only a small drip” and then shown me a sink stained with limescale and a cupboard floor starting to swell. What starts as a slow drip can waste a surprising amount of water and push up your bills.
If you’re comfortable with basic maintenance and you’ve tackled simple general plumbing tasks around the house before, there’s a good chance you can sort this yourself. The key is knowing what type of tap you’ve got and what usually goes wrong.
Why a dripping tap shouldn’t be ignored
A constant drip is often a sign that an internal seal has failed. Ignore it and you risk:
- Wasting hundreds of litres of water a month
- Limescale build-up around the spout
- Wear on the tap body itself
- Damage to the sink unit or cupboard below
In older properties in Hove and Worthing especially, I often see slow leaks that have rotted out chipboard units underneath. By the time the leak is obvious, the repair is no longer just a £5 washer.
Common causes of a leaking kitchen tap
Worn washer
This applies mainly to traditional pillar taps or older mixer taps. Inside the tap is a rubber washer that presses against the valve seat to stop water flowing. Over time, it perishes or flattens.
If your tap needs several turns to shut off and still drips from the spout, a worn washer is the usual culprit.
Faulty cartridge
Most modern mixer taps use a cartridge rather than a simple washer. If you’ve got a single lever tap and it’s dripping from the end of the spout, the cartridge is often to blame.
Cartridges can wear out, crack or clog with debris, especially in areas like Haywards Heath where I’ve seen heavier limescale build-up.
Damaged O-ring
If the leak is coming from around the base of the spout rather than the end, an O-ring may have split or worn down. These small rubber rings seal moving parts and stop water escaping around joints.
Water pressure issues
Occasionally, especially in homes with combi boilers, high water pressure can cause taps to drip slightly even when turned off. This is less common but worth considering if you’ve already replaced parts and the problem persists.
Tools you’ll need and safety tips before starting
Before you take anything apart, get the basics ready:
- Adjustable spanner
- Flathead and crosshead screwdriver
- Allen key set
- Replacement washer or cartridge
- Cloth or towel
First rule is always turn off the water supply. For kitchen taps, there are usually isolation valves under the sink. Turn both hot and cold off, then open the tap to release any remaining water.
I always put the plug in the sink before starting. Small screws have a habit of disappearing straight down the waste.
Step-by-step fixes for different tap types
Traditional pillar tap
- Pry off the decorative cap on top of the handle.
- Unscrew the handle and lift it away.
- Use a spanner to remove the valve assembly.
- Replace the washer at the bottom.
- Reassemble and tighten firmly but not excessively.
If the tap still drips, check the valve seat inside the tap body. If that’s damaged, it may need reseating or replacing entirely.
Mixer tap with cartridge
- Locate and loosen the small grub screw, usually behind the lever.
- Remove the handle and decorative shroud.
- Unscrew the retaining nut holding the cartridge in place.
- Lift out the old cartridge and match it exactly with a replacement.
Getting the right cartridge is crucial. I often advise customers to take the old one to a plumbing merchant to compare, as they are not universal.
Ceramic disc tap
Ceramic disc taps tend to last longer but can still leak if debris gets trapped inside.
Disassemble in a similar way to a cartridge tap. Clean the discs carefully and check the seals. If the discs are cracked, replacement is usually the only fix.
When to repair vs replace your kitchen tap
If your tap is under ten years old and otherwise in good condition, replacing a washer or cartridge makes sense.
However, if:
- The body is heavily corroded
- You’ve replaced parts more than once
- The tap feels loose at the base
- You can’t source the right cartridge
It may be more practical to replace the whole tap. Modern taps are generally more efficient and easier to maintain. In some older Brighton properties, I’ve found original taps from the 1980s still hanging on but costing more in parts and effort than a straightforward upgrade.
When to call a professional plumber
There’s no shame in stopping halfway through if it’s not going to plan. Call for help if:
- You can’t isolate the water properly
- Pipework under the sink starts leaking
- The tap is seized and won’t budge
- You suspect a pressure problem
I’ve attended plenty of jobs in Hove, Worthing and Haywards Heath where what started as a simple washer replacement turned into a snapped fitting or split isolation valve. Sometimes it’s quicker and cheaper to get it sorted properly in one visit.
If you’ve tried the basics and the dripping’s still driving you round the bend, or you’d simply rather not spend your Saturday under the sink, it’s worth getting experienced help. The team at Brighton Plumbers deal with these sorts of jobs every day and can tell quickly whether it’s a small fix or time for a new tap.
You can book a professional plumber today if you’d like it looked at properly. Even if you just need a bit of advice before deciding what to do, a quick call can save a lot of trial and error.